This article explains:
– how the material library is set up
– How to add custom materials
– How to make slabs with the Natural Stone Assistent
The material library
Open the material library (menu Tile | Place | Material). The material library contains various materials like wood, plastic, metals, fabrics…
The materials can be placed on any kind of surface in your project.

The leftmenu contains the database structure with all the various materials. For some materials, e.g. wallpaper, you can set the texture and color.

Press OK. The cursor transforms in a pencil, click on the desired surface to apply the material. Hold CTRL to continue applying the material on other surfaces.

Adding custom materials
Use the .custom materials database to add your own materials based on images. Take note the images show seamless patterns, like the example below. When the material is applied no seams are shown.
Below we show how to install a color library. ViSoft doesn’t have a contract with RAL, but it is possible to add the RALcolors in your custom library.
Install color library
Step 1
Open the material library. Rightclick and select add serie.
Fill in the name and description and press OK.
Step 2
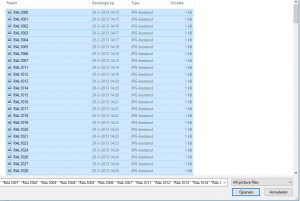
After creating the serie, right-click in the white space and select create material from image. With CTRL+A you select all the images in the folder. Press open.
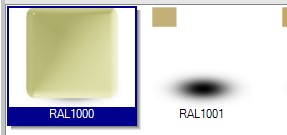
It takes a little time for all the colors to load. Rightclick on the color to edit the properties, like the type of preview.
Natural Stone Assistant
The Natural Stone module can be started with a rightclick under the menu Tile | Place| Tiles. The assistent can be used to make multiple tiles from a nature stone image. A different kind of tile image is possible as well.

Retrieve the image of the nature stone from the Material Library. Press Select Source Image… to choose the one you want to use.

Activate Random flip and Random orientation to change the direction of the tiles to make it appear more natural. If desired, adjust the size of the tiles. Set the parameter for the total the number of tiles. The ‘processed’ tiles appear on the left side. To delete one, rightclick and select Delete. The tile pattern can be saved, use the Save in Library… button to do so.
