Everything you design in ViSoft is automatically converted into technical drawings and part lists in menu Output. There is a division between plans, part lists and picture print.
Output | Plan
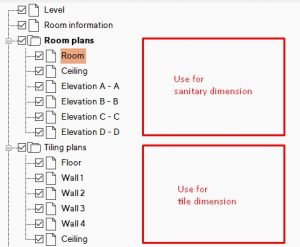
In de Explorer (left side screen) you can select the plans. Click to view.
Delete or add dimensions to the plans. Or include extra text, pictures, logos and custom pages.
ViSoft measures automatically the dimensions between placed objects. It’s easy to add extra custom dimensions.
Take note: the first plan level is for dimensions on the outer walls. The room plans can be used for dimension within the room.
Manual measurements
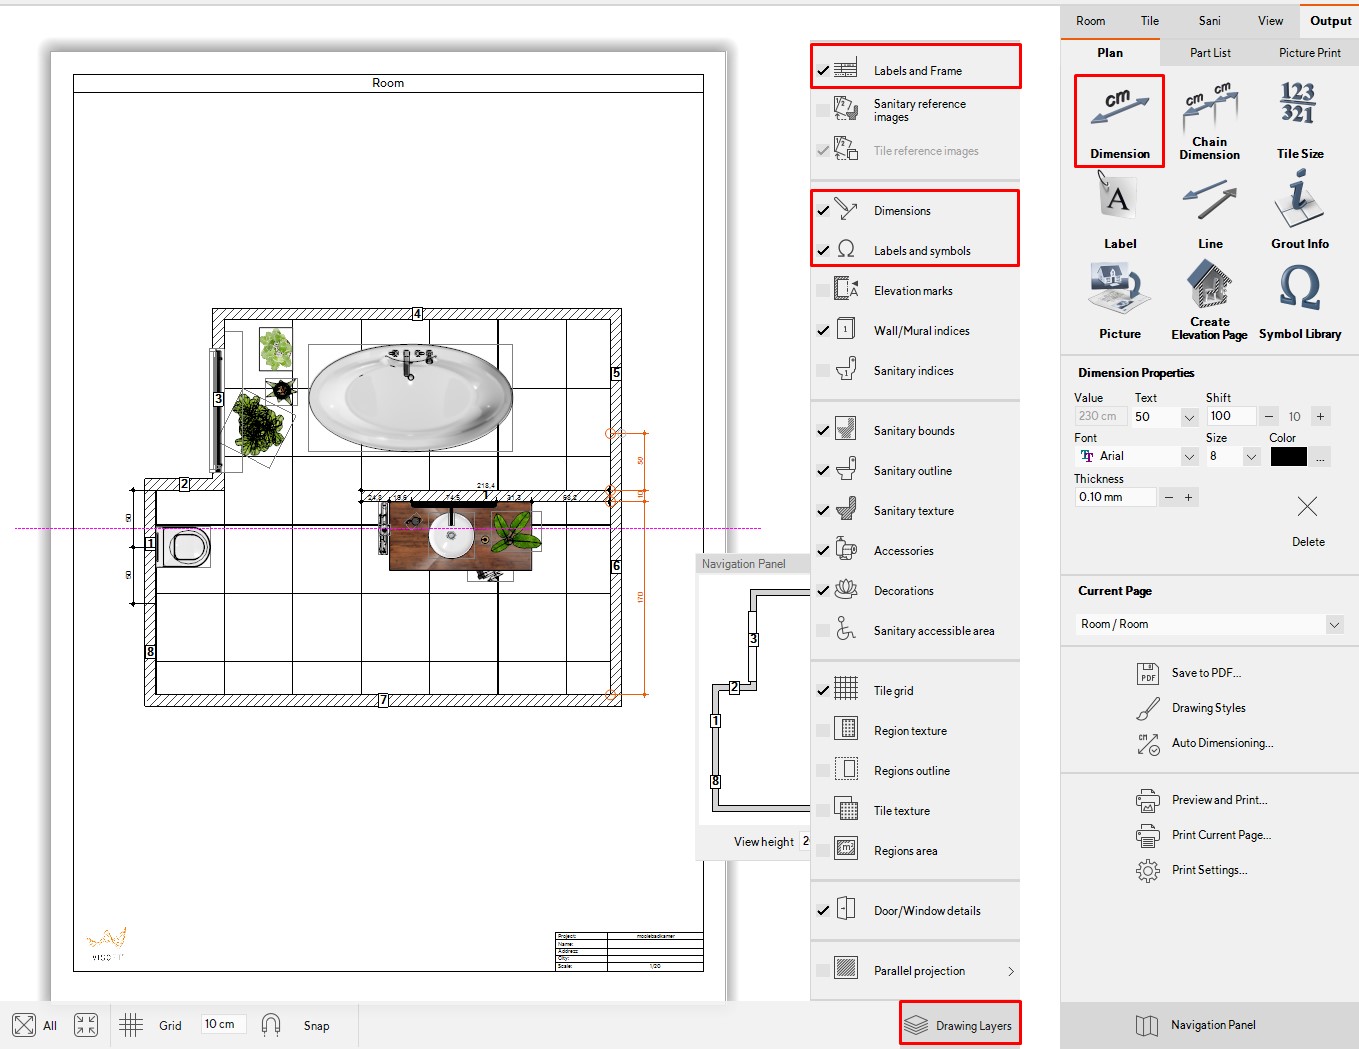
First of all, make sure that in the drawing layers the Labels and Frame, Dimensions, labels and symbols are checked.
Use the button Dimension to measure the distance between two points. Activate the button and click on the first point. Hold left mouse key and release on the second point. You can move the line by dragging it.
In the right menu under Dimension properties, you can change the look of the dimension, size, font, color e.g.
Adjust the design with the Drawing Styles layer. The changes you make here will be saved as default. If you like to keep the style for the whole company, copy the settings from the folder ViSoftCreative/ userdata / settings.xml to other ViSoft computers.

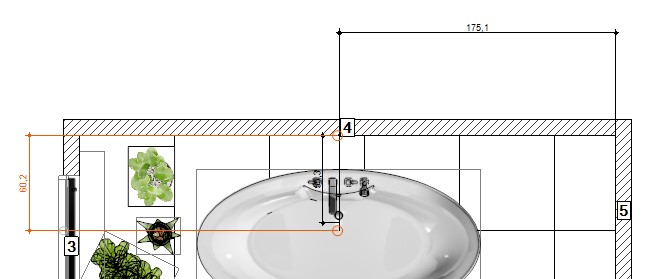
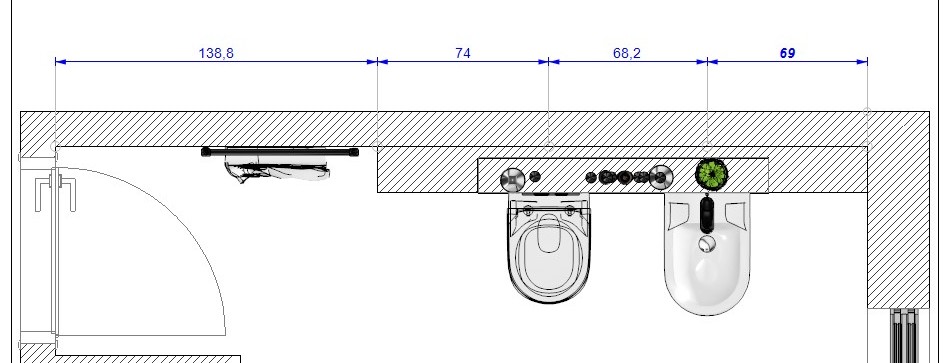
Chain dimension
Use the button Chain dimension if you want to measure multiple points. Left-click on the points, for example, the heart of objects. Stop the chain with enter or double-click.
Auto dimensioning
It is possible to edit the settings for automatic dimensions. Click on the button Auto Dimensioning to open the table seen as below.
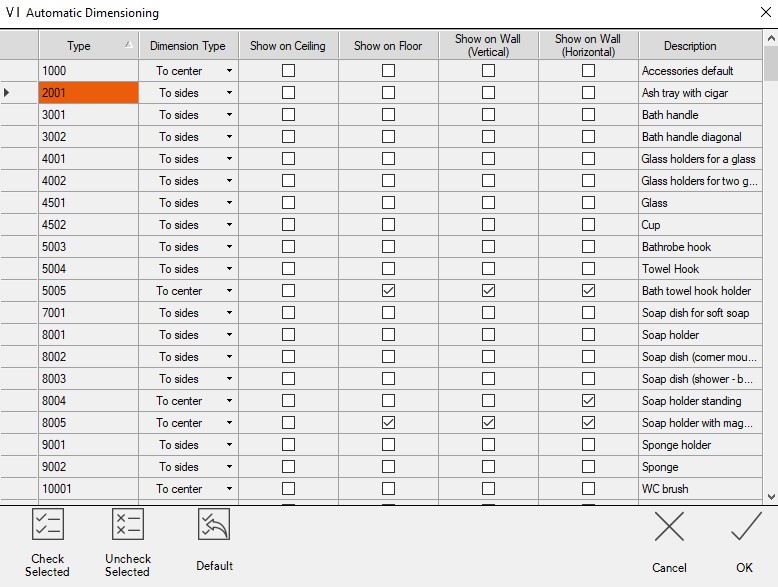
Each type of product is presented in a separate row. In the first column you see product codes. In the second column, select the dimension type: display in the middle or to the sides. In the third and fourth columns, you select whether the product type is displayed on the floor and ceiling plan. The fourth and fifth columns indicate if dimensions are shown on wall plans and elevations. Use CTRL or SHIFT to select multiple rows at the same time. Then use the button Check selected or Uncheck selected. Basic settings can be reset with the Default button.