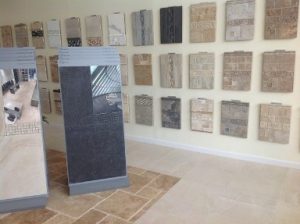
With the wallboard function, you can create and design show panels for your tiles in the showroom.
Collect in the tile browser the tiles you want to use, create a tileset or make them your favorite.
Go to Tile | Fast and open the  Wall Board Assistant.
Enable the Fixed size and set the parameters for width and height. In the ViSoft Preferences you can set a default size for the fixed size.

Drag and drop the tiles to the empty panel from the tileset or database.

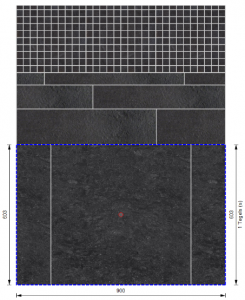
For the sections, you can control the rows, the height, the width. You can also set the way of laying tiles and the size and color of the joints.
Use the button Concept Board (top right)  to place the board in your project room. You can also choose to save the board. Use the button save…
Fill in the name and description and press ok. The concept board is saved in your Room object library (accessible in menu mural).
It is also possible to use tile with board function to place the board as a tiling area on the wall or floor.

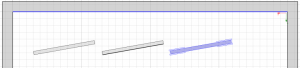
With the grouping function, you can select multiple boards and save them in the mural library.
In menu Output |Plan you can see the exact amount of tiles needed for the board design.