Go to slanted roof
Go to roof corner
Go to complex roof
Learn how to create roof corners, slanted and more complex rooms in ViSoft Premium.
Open the menu Room | Roof. Note that you can only place a roof in floor view, the function is not available in the other views. Click on roof and place it on the wall. The roof is highlighted: set the right parameters under properties. This you can do in 3D-view if you wish.

- Mountingheight: set the start point of the roof.
- Angle determines the angle of the slope.
- Depth of the selected roof.
2 | Roof Corner
To place a roof corner, use the function Roof Corner in menu Room | Roof and work from floor view. Select the corner where you want to place the roof. Fill in the right properties in 3D to see the changes you make.
To create a complex roof, with 2 corners or roof rafters, use extra block- or free murals. The following example uses the roof function, 2 blocks, 3 free murals and 1 divider.

Step 1
Start with placing the roof. Set the mounting height to 0 and angle to 70 under the properties.
Step 2
Place a block (tab mural in menu Roof) up against the roof. Open the properties, and set the bottom bevel angle (b) to – 40.
Step 3
Place the divider and block on the ground against the sloped roof. Set the right properties. Don’t worry about the back: it automatically shapes in the right form against the wall.
Step 4
The rafters you can create with a free mural. Go to wall view. Use the navigation panel to select the wall where you have a side view of the roof.
Draw the free mural against the block in the right shape. Connect the start with the endpoint and edit the properties if needed. For multiplying the rafters, simply use copy and paste.
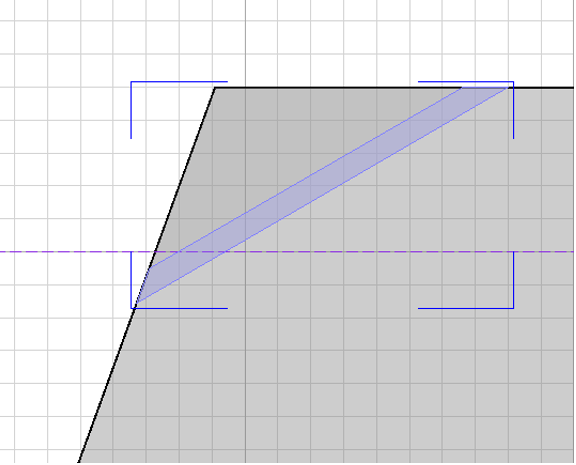
Free mural in wall-view.