Before you start the setup of Oculus Rift VR, check if you have the following stuff ready: 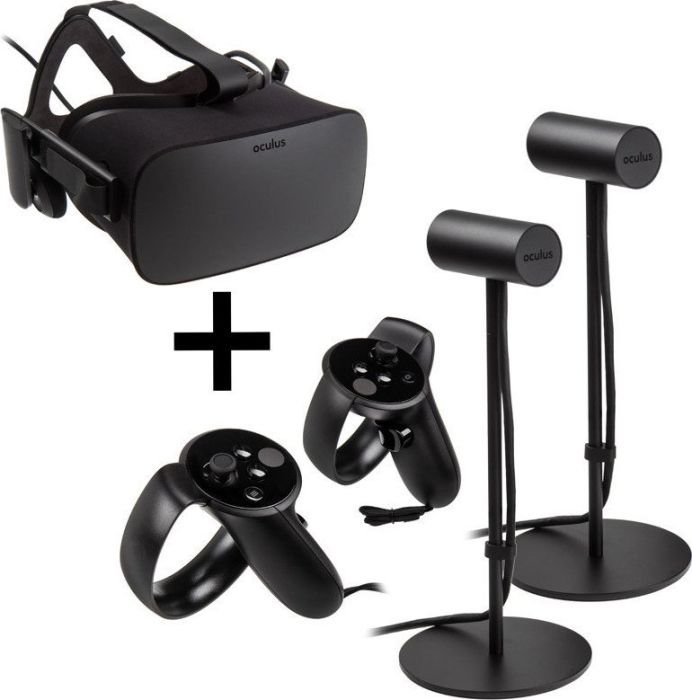
– Rift (glasses)
– Touch Controllers
– Sensors
– AA batteries
– Audiotool
PC:
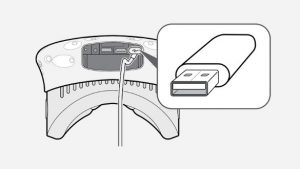
– 3 free USB ports
– 1 free HDMI input
– 10,2 GB space free for software
– SteamVR software (downloadlink First, install the regular Steam, then install Steam VR)
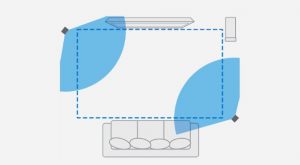
Physical space: space to move and stand-up.
Step 1
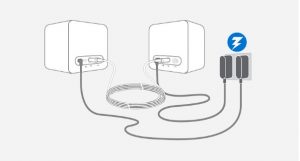
When you use the Oculus Rift set for the first time, untie the sensors and put AA batteries in the controllers.
Step 2
Go to oculus.com/setup/ to download the Oculus Rift software. Start the setup and follow the installation steps. Create an Oculus Rift account.
Je dient een Oculus Rift account aan te maken. Stel een foto en een pincode in.
Step 3
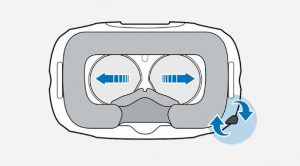
During the installation process, follow the steps to set up the Rift, sensors and controllers.
Step 4
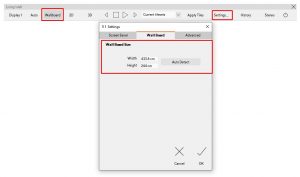
Start ViSoft Premium and go to View | Advanced and start Visual Reality. ViSoft checks if Oculus and Steam are installed and starts the software automatically. It’s very likely that you will get the pop-up from oculus: ‘unknown source’. Follow the next steps
Allow content from unknown sources :
- Open the Oculus app on your computer.
- Select Settings in the left menu.
- Select the General tab .
- Click next to Unknown sources to allow content from unknown sources.
You ready for VR!