With ViSoft Phototuning you can render lifelike media of the project. This module needs to be activated separately from Premium. In ViSoft the rendering software V-Ray is integrated. Rendering is a graphical design term. To render relates to the processing of images for a film or animation.

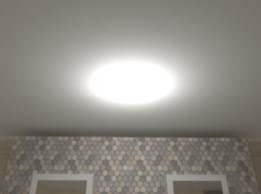
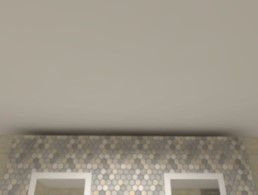
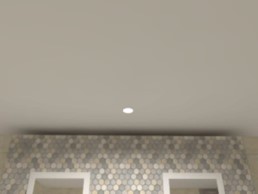
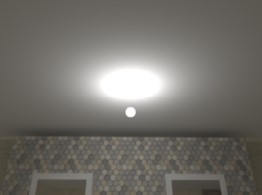
A lot of elements are of importance in making a great render. Light settings are crucial, it’s important to create realistic lightning. Other important factors are camera position, used materials and textures, settings of the V-Ray rendering software.

Get started

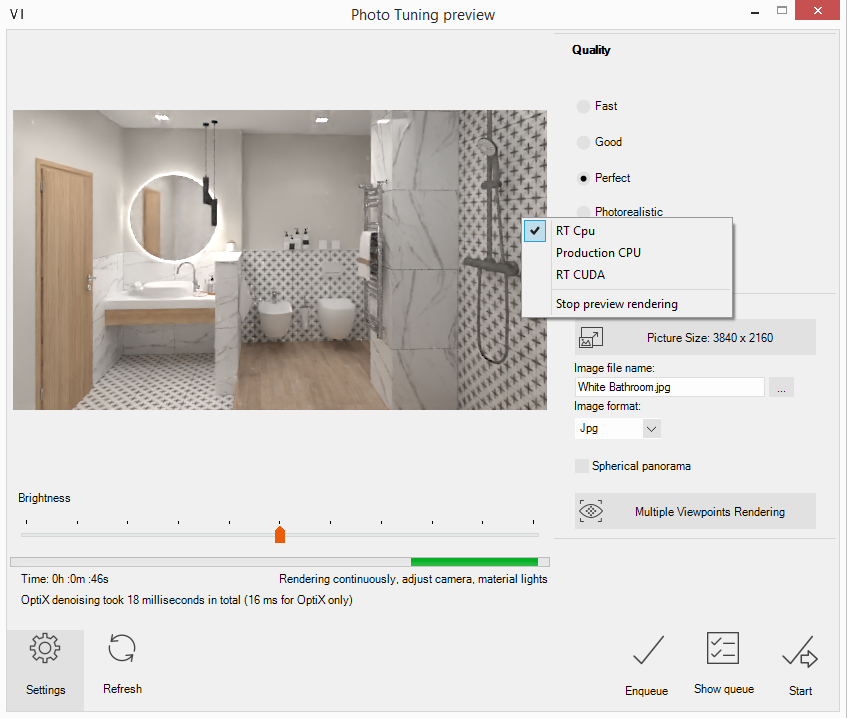
Before you start with Phototuning, make sure you set up the lighting, materials, camera and viewpoints. The setting of light is certainly difficult at the beginning. Try to prevent setting the lights too bright and keep them behind or next to the camera. Start Phototuning in menu View | Advanced or use hotkey F10. The Phototuning preview window will open (see image below). The preview window is on the left side. The aspect ratio of the preview is equivalent to chosen picture resolution. Below it is the Exposure Correction slider. By using it you can make picture brigther or darker manually. Under the slider is preview rendering status. It shows elapsed time and description of current actions or condition.

By right clicking into the preview picture you can select three different ways for preview creation

  • RT CPU: RealTime preview based on the processor computing power.
  • CPU Production: render in the preview window, also based on the processing computing power.
  • RT Cuda: Realtime preview based on the graphic card’s computing power.

RT CPU and RT Cuda are on-going progressive processes that keep rendering. First results are shown quickly. As time goes on more and more noise is removed. You may change the viewpoint or light settings at any time. The changes are detected and creating of a new preview begins. When using CPU Production you need to click Refresh button after any change. CPU production will create a preview picture and stop rendering.

Quality provides four predefined quality options:

Fast

The setting fast doesn’t calculate soft shadows or natural lighting and leaves all quality settings on a low level. This mode is useful to get a fast overview of the brightness of all lights in the current scene. Use this mode always in the beginning, to realize the best approximation to the best light setting. Pictures made with option fast have only draft quality.

Good

This level uses soft shadows with low quality and some other settings that increase quality. Use it to perform enhancements on details and to create pictures with low quality.

Perfect

This adjustment computes softer shadows with higher quality and increases other quality settings.

Photorealistic

This option calculates quality soft shadows. All other necessary quality settings have high values. You should use this mode when light and material settings have been already finished. The result of the automatically optimized settings is a photo realistic picture with soft lighting and gentle shadows. The calculation time depends on the desired resolution and the power of your hardware.


Use Output to select the resolution. Choose from the typical resolutions, or type a custom size in pixels. Think about the intended use to define the adequate resolution for presentation. Try to match the resolution of the device you want to present it on, go lower or higher and it reduces the quality. Read here more about how to calculate the DPI. Higher resolution means longer render time.


Under Image file name fill in the name of the image. Press … to change the save location. Use Image format to save to JPG, PNG or TIF. Enable Sferische camera if you want to render a panorama and use is for software like KRPano.

Press the button Multiple Viewpoints Rendering to select more viewpoints, and enqueue them all at once to render. In menu View | Camera use the navigation panel to save custom viewpoints.

Explanation of the other functions: Refresh: the preview starts a new rendering. Enqueue: Add a task to the render queue. You can add tasks and start the renders at a later time. Show enqueue: open the tasklist. Start: Start rendering the current view (and the ones you might have selected under Multiple Viewpoints Rendering).

Settings:

Press the button Settings to set up the preferences for Phototuning. The ViSoft System Preferences window is openend, see image below.

Use V-Ray frame buffer for rendering
V-Ray frame buffer is a display window for V-Ray renderings that includes a number of specific features, like performing color corrections and applying lens effects on rendered image.
Enable denoiser
diminishes the noise in an image.Vermindert eventuele ruis in een afbeelding.
Auto-exposure
Auto Exposure is an additional pass before the preview rendering starts. It detects overall intensity and applies modification to settings. By using it you avoid too bright or too dark pictures.
Glare Effect
Creates light beams around objects with high intensity.
Enable Chamfer Effect
Use chamfer effect to make edges smoother. For example, the edges of sanitary ware objects will be smoother, less sharp. This adds realistic look and reflections.
GI Saturation
GI Saturation enables color bleeding. For example, when a light hits a red object in the scene some of the red color will be dispersed and reflected in the vicinity of the object. Value 1 is phisically correct value of this effect. You can lower the value to make this effect less apparent. Higher values will increase the effect.

Not all light properties are visible in Phototuning. In the image below, the properties that are visible when making a render, are marked with orange. All properties are visible in 3D-view.

Recessed light source and visible in Phototuning

When the setting Use as recessed light source is enabled under special settings in the light properties, the light will be shown as a disc. If Use as recessed light source is off, a bright sphere is visible. In the table below you can see the effects in a comparison of the settings.

Use as recessed light off: point light is placed close to ceiling hence brightness is high right below the ceiling. It creates a bright spot visible on the picture.
Visible in Phototuning offpoint light itself is not visible.
Use as recessed light on: spot on the ceiling is not visible.
Visible in Phototuning off: point light itself is not visible.

Use as recessed light on: spot on the ceiling is not visible
Visible in Phototuning onpoint light is visible in form of a disk.
Use as recessed light offpiont light is placed close to ceiling hence brightness is high right below the ceiling. It creates a bright spot visible on the picture.
Visible in Phototuning on: point light is visible in form of a sphere.

The default save location of the Phototuning queue is:

Dongle installations: C:\ViSoftCreative\UserData\VRay\ScheduledTasks.

Online license: C:\ProgramData\ViSoft\ViSoftPremium\UserData\VRay\ScheduledTasks

These folders can be copied for a backup of the rendertasks. Or delete the tasks to clean up the folder and create space. If you want to restore the backup, copy the tasks back to the original folder.

If you want to export a rendertask to another computer with extra power, open the context menu and select export task. If you want to import, use symbol icon (marked blue below).

It is possible to adjust the exposure and other processes after the rendering of an image. Open Phototuning (F10) and press Show queue. The V-Ray rendering queue shows paused or rendered images. Right click on a rendered image and select Post processing. The V-Ray frame buffer is opened. Make corrections for the exposure, contrast, colors, e.g.

Open the corrections control panel left bottom:

For color correction use the exposure, white balance and Hue/ Saturation. Play around and see what happens. For detailed explanations of other functions, visit the V-Ray site.

Exposure

This color correction applies exposure and contrast to the image. An Exposure value of 0.0 leaves the original image brightness, +1.0 makes it twice as bright, and -1.0 makes it twice as dark. Highlight Burn selectively applies exposure corrections to highlights in the image. Positive Contrast values push the colors away from the medium gray value to increase image contrast, while negative values push the colors closer to medium grey.

White Balance

The White Balance slider corrects the colors in the image so that objects that are white appear as pure white (and not tinted blue, yellow, red, etc.) in the final image.

Hue/Saturation

This correction applies HSL transformation on the image colors. Moving the Hue slider changes the overall hue of the image colors (grey colors remain intact). Lower Saturation values move the image towards greyscale while higher values increase the colors’ intensities. Higher Lightness values add white to the image, whereas lower values subtract white from the image.

Color correction template

It is possible to save your preferences in a template. Click on Global and select save. Save the Global Color Correction File (*.vccglb) on your computer. Load the correction file on other rendered images in your queue

More detailed information about the V-Ray Frame buffer and functions can be found on the V-Ray website:
V-Ray Frame buffer
Color Corrections
Lens effects

How do I calculate the right image resolution?

For your printed matter, DPI (dots per inch, inch = 2,54 cm) is often specified as a quality requirement.
If you want to use DPI as startinpoint for your resolution, you will have to convert it.

For what medium will the image be used and in what size?
For example: an image will be printed in a magzine, siz A5 (21×14,8cm), and a DPI of 150.

We will use the following formula:

Width image:
(21 : 2,54) x 150 DPI = 1240 px

Height image:
(14,8 : 2,54) x 150 DPI = 874 px

Render the image in resolution 1240 x 874 to meet the 150 DPI requirement.

Under output in ViSoft Phototuning you can choose from typical resolutions and paper sizes. Use Custom to set your own pixel resulotion.

Default print DPI resolutions:
Billboard = 15 dpi
Magazine= 150 dpi
Fine art print = 240 DPI

Formula size in cm to pixels

Width image:
(width in cm : 2,54) x 300 DPI = pixel size

Height image:
(height in cm : 2,54) x 300 DPI = pixel size

Formula pixel to width or height in cm

Width image:
(width pixels : 300 DPI) x 2,54 = imagesize in cm

Height image:
(height pixels : 300 DPI) x 2,54 = imagesize in cm

Note: this formula is only a theoretical resolution and does not always apply. It also depends on the quality of the image.

It can happen that transparent objects are displayed a bit weird on renders.

This situation occurs when normals of the transparent object-oriented inward, so Photo-Tuning engine cannot calculate glass material correctly.

To solve this difficulty normals of the object need to be recalculated and then flipped to achieve the proper orientation

Example of a shower screen:


You can solve this issue with the Modify object function in the Sani menu.

In the modify object window, first select recalculate normals, set Smooth threshold to zero and click on apply.

Second, select flip faces and apply.

The render after correction:

If this doesn’t work, try to reduce the reflection of the object. In menu View | Material select the object material and then reduce the reflectivity in the parameter menu on the right.